Add a “Cover” block to your template and upload a background image.
Start by click the ‘+’ sign and add a “Cover” block.

To add a background image to the ‘ Cover ‘ block, go ahead and click the ‘Upload’ or ‘Media Library’ button.
This will open the WordPress media uploader popup.
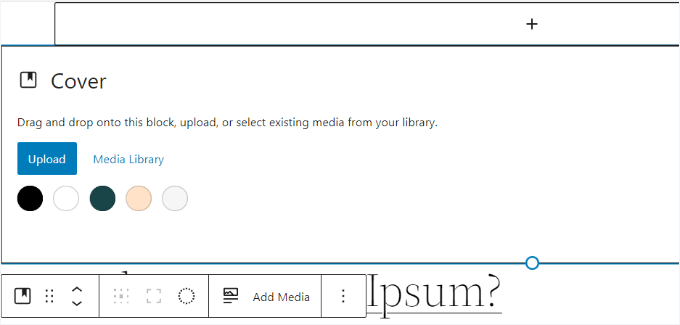
The next step is to choose an image that you’d like to use as the website background.
When you have chosen the image, simply click the ‘Select’ button.

Once the image is added to the ‘Cover’ block, you’ll need to set it as the background of the page.
To do so, simply click on the ‘List View’ icon at the top of the window (icon with 3 dashes – this is in the very upper left next to the W wordpress icon.). This will open an outline view of theme elements, such as the site header and footer.
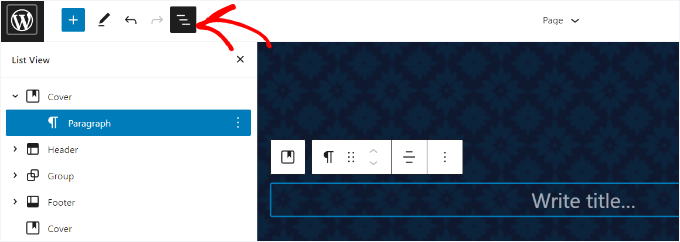
After that, simply drag and drop all the template elements under the ‘Cover’ block in the list view.
Once they’re all under there, the ‘Cover’ block’s image will show up as the site’s background.
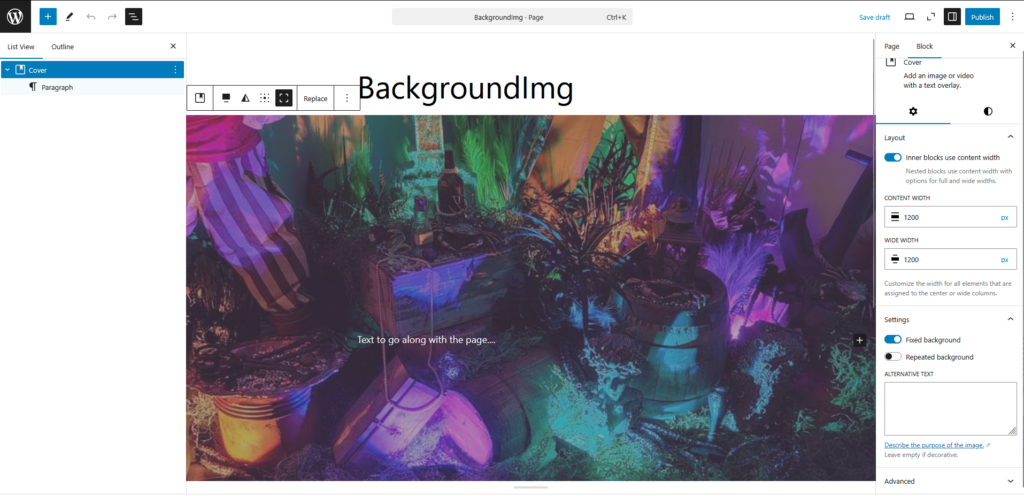
After that, you can adjust the background image by clicking on the ‘Cover’ block and selecting the gear icon in the top right corner of the screen. This will open the ‘Block’ settings panel.
Here, you’ll find options to make the image a fixed background, adjust its overlay, edit the color, and more.
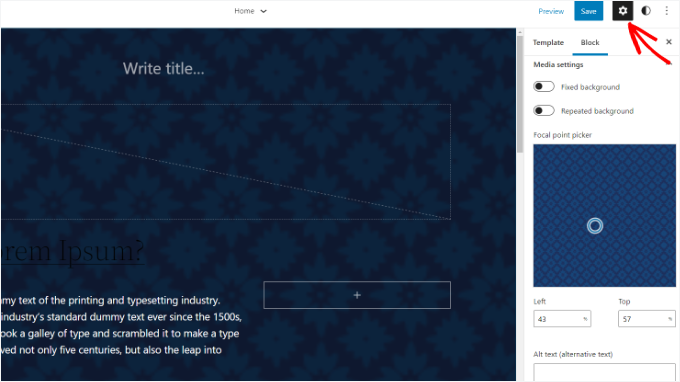
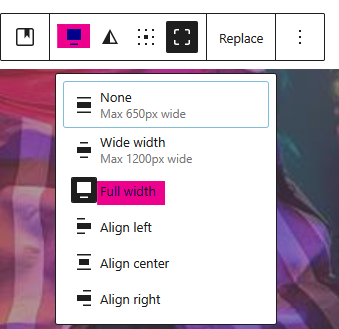
To make the image fill the whole page, from left margin to right margin, select the block width.
If you would like the text and other components to glide on top of the image – the image is fixed in the background and other components scroll on top of the image – make sure “Fixed Background” is selected.
You can also set the inner bounds of page. This will align text within a certain range while keeping the image the full width of the page.
When you’re done, don’t forget to click the ‘Save’ button.
And that’s it! You’ve successfully added a background image